DIY Mid-Century Modern Nightstand
Step 1. Build the Frame and Shelf
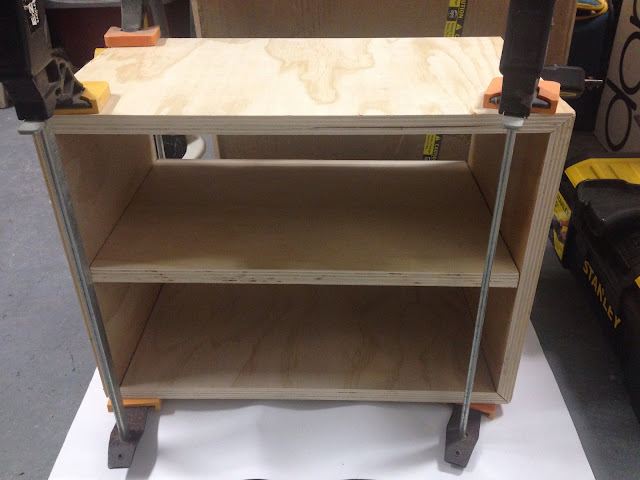
I try to avoid using screws to keep it clean look. I only use wood glue and finish nail, except screws for drawer slide. I use circular saw to cut the frame with 45 degree finish, so that I can glue them together with clean edges. My frame size is height 13", Width 18", Depth 12". Legs 8". Overall height 21".Before put the frame together, I install the shelf. I use 3/16 rod for the shelf installation (also add wood glue for stronger result).
Now we can put all together, clamp it.
Step 2. Make the Legs
You can use any style of legs. I use 2x2" and 1x2" lumber, as shown below. I trim and sand the 2x2" to make them skinnier at the bottom. Glue the pieces as shown in the pictures.
Step 3. Sand, Stain and Finish
Wait overnight for the wood glue to do the work. Here it is. Next step is to sand the whole thing, and stain them. I choose dark walnut for the exterior surface, pecan for interior surface. Polyurethane for the protection layer.
Step 4. Added drawer (Optional)
You may choose to add one or two drawers. I use 10 in Full Extension Ball Bearing Side Mount Drawer Slide, which is less than $5 per pair from Home Depot. Once you pick the slide, you can build the drawer with the size accordingly. Leave the face board a little room to the frame. Once done, you may stain the face board, or paint it. I paint it bright white.


Comments
Post a Comment